Remote Work Masterclass Using Box.com
Using Box.Com to manage projects without seeing your teammates ugly mugs.
Using Box.Com to manage projects without seeing your teammates ugly mugs.
Group projects in school can suck. Especially when most of the teammates are working as well as going to school. Being able to coordinate times for everyone to meet up is like trying to get the planets align, and quite frankly, that is more predictable than human behavior at times. The largest obstacle to group assignments is having to meet at a physical location. If you take out the physical location aspect of the team project, and telecommute, the flexibility afforded can really help get the ball rolling.
Box.com
Soon, UVU students will be granted access to an enterprise Box.com account to use for school and to store files. But this isn’t just some cloud storage solution, it is a work power tool that, enables you to work remotely in group projects.
In this tutorial, I will cover:
How to claim your Box account.
How to set up teams and a folder.
And how to assign tasks and get work done remotely.
But first, why work remotely?
Behinds the saving benefits of not commuting and spending money on travel, which can cost you a couple bucks a week to show up to campus to meet your group. It is the future of work. Being able to telecommute effectively is a digital age fundamental skill, as much as learning to blog or to share a google drive link, it is a part of how people work.
And come on, you can work anywhere, who doesn’t want the flexibility?
Claiming the Account
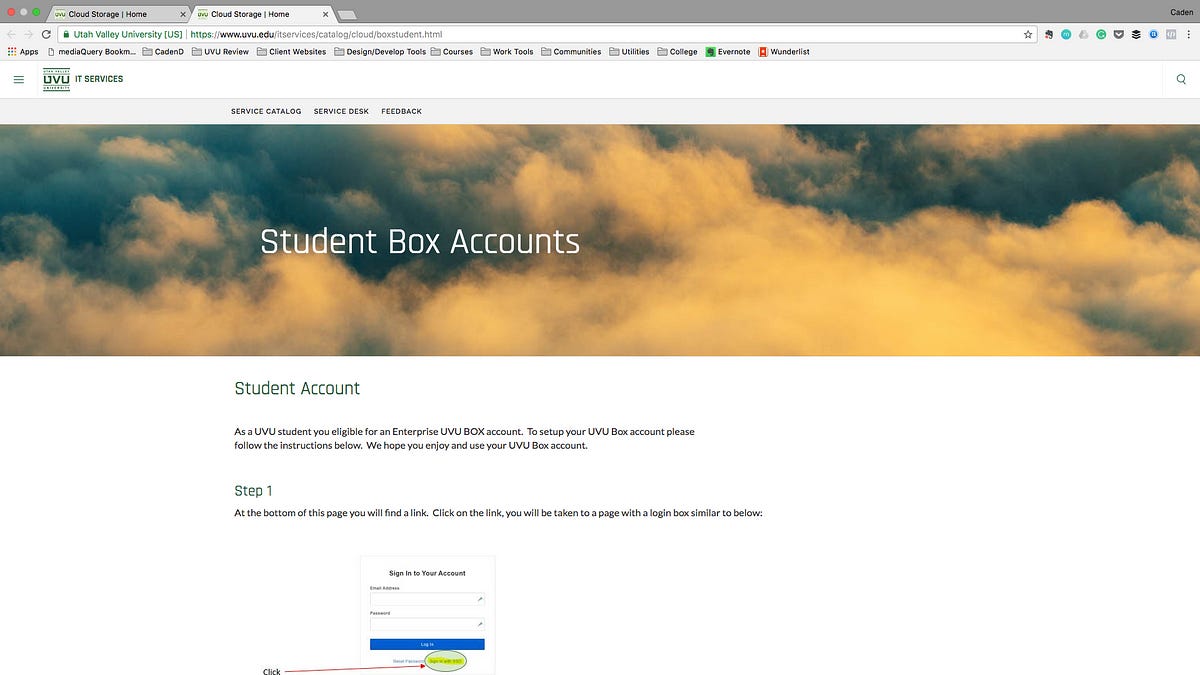
When being onboard to Box, this is the screen you start at:
You can find this page clicking here.
In case it wasn’t intuitive enough, click the Box Button. Which will take you here.
See these perks? Unlimited secure storage, access on multiple devices, and whats important to us, streamlined collaboration. We will talk about later in the document why the collaboration is so streamlines later in this article.
So click on Student Login and lets get started!
This is the tutorial page. Essentially the gist of it is this:
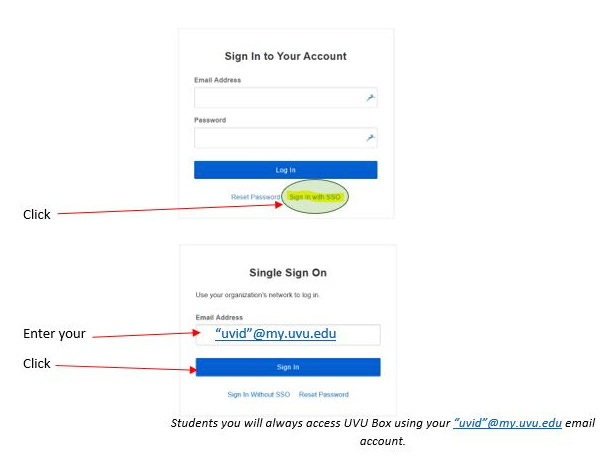
When you get to dropbox login screen, make sure to enter your UVU ID email to tell Box that you are a student.
It will pull up a special log in to help you use your MyUVU login to sign up for Box.
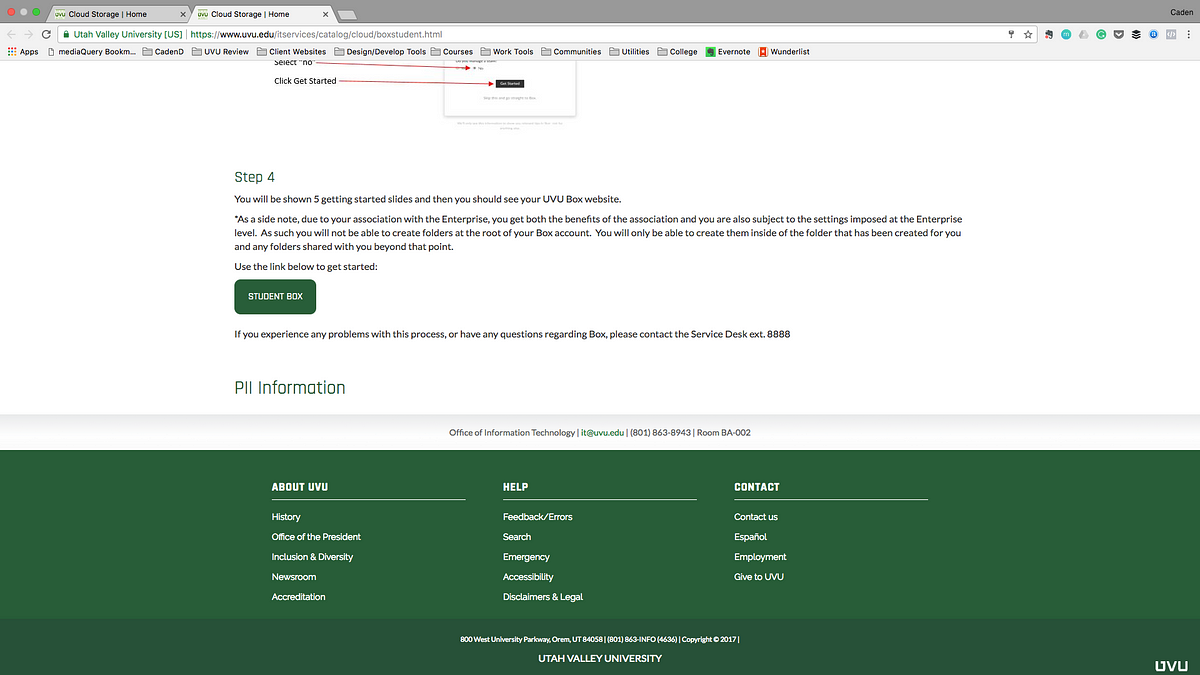
Above is where you set the parameters of you account. Just select other when picking a department and enter “Student” when it asks you to clarify what department you are in and say no to being a team manager. and click get started!
Now you don’t have to read the whole instructions and you can just click on the Student Box button to get to it!
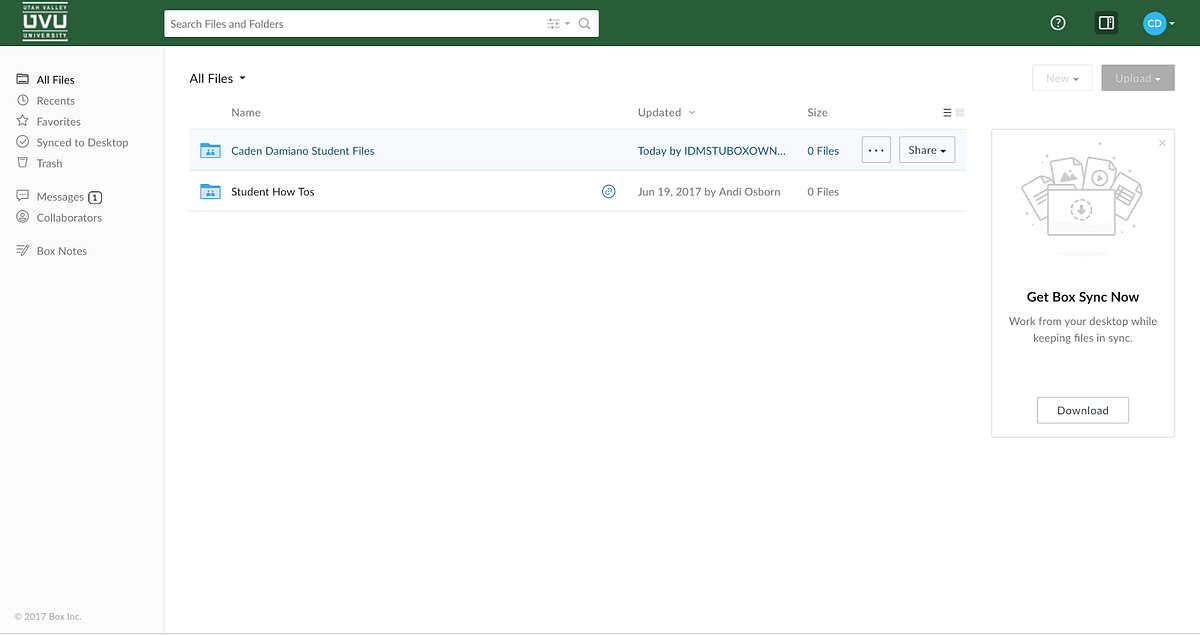
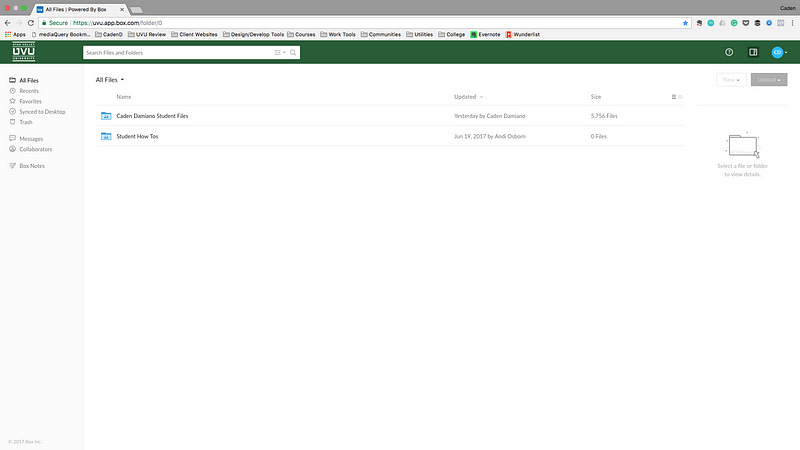
Once you do all the above steps you will make it to the UVU Box dashboard.
Building that Remote Team
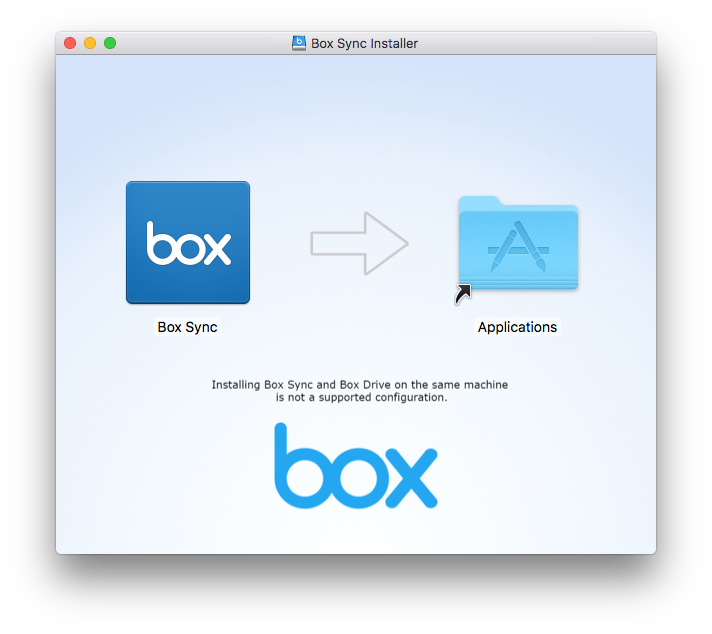
Now it is important to understand that Box is not just some cloud storage provider. It is a collaboration tool as well. As you can see in the image above, you are given two base files to work with. These can be viewed in your desktop files app as well if you download Box Sync. I recommend clicking the download button.
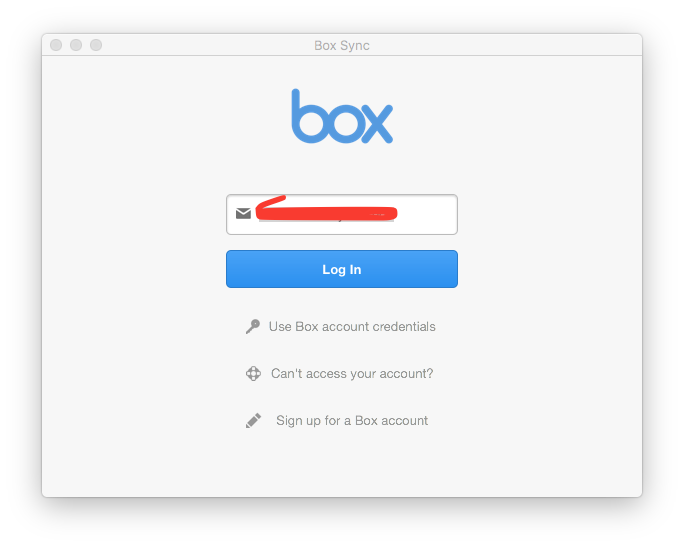
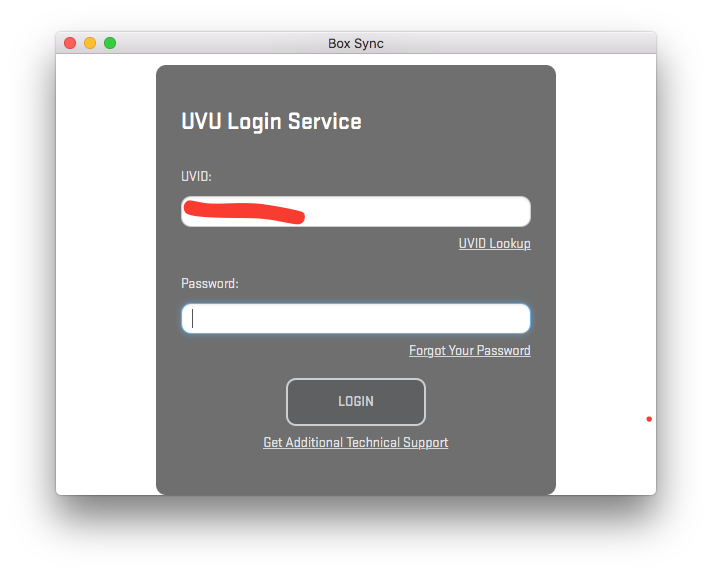
From there you use your UVU email to log into Box Sync. The next couple screens connect you to UVU’s system and connects your desktop to your Box account.
Now that it is on your desktop, you can return back to the main loud screen and start making a team.
So click on the file that has your name on it and you should see this:
This will give you your container for student files. If you click on the new button in the top right corner your can create a new project file for your group project.
Create the new file, and call it whatever you want, just make sure it pertains to the team project you are involved in. But take a look at all the stuff you can make within a file, which is everything you need to succeed in group projects.
So if I where to click on a new file, this window would come up.
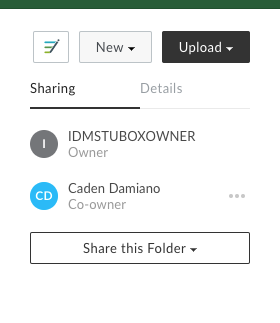
This where you can invite your team members and get on the same page for everything.
If you want them to have complete control just make them an editor so they can work on everything.
But if you want to restrict permissions, just change it to what you want.
You can change permissions on just being able to upload stuff to just being able to look at it. (Like your professor)
It makes for a pretty versatile product to set up your remote group project.
When all the right specifications or to your liking, you can create the file.
In this example I’m not sharing this file with anybody.
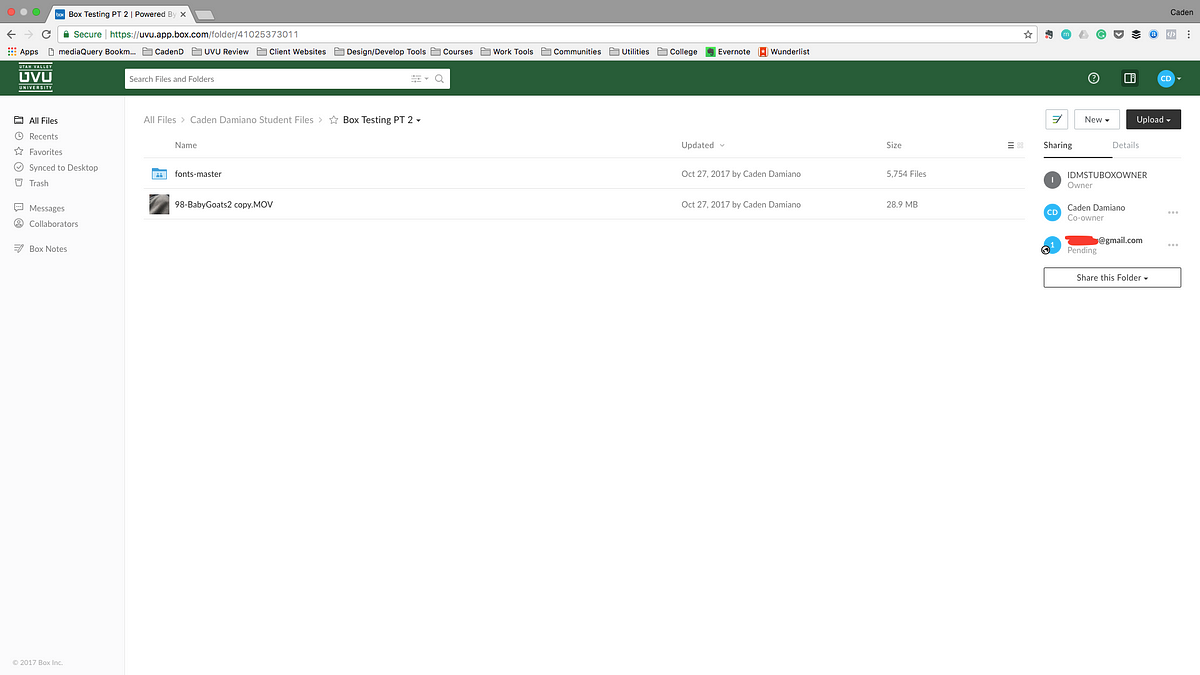
Below is an example of a shared group file, and if you look at it, I already sent an invite to collaborate on it. You can do this after making the file by clicking the Share File button. It gives you two options, if you want them as a collaborator or just a shared link.
How Box Makes Remote Working Super Easy
Now for a use case.
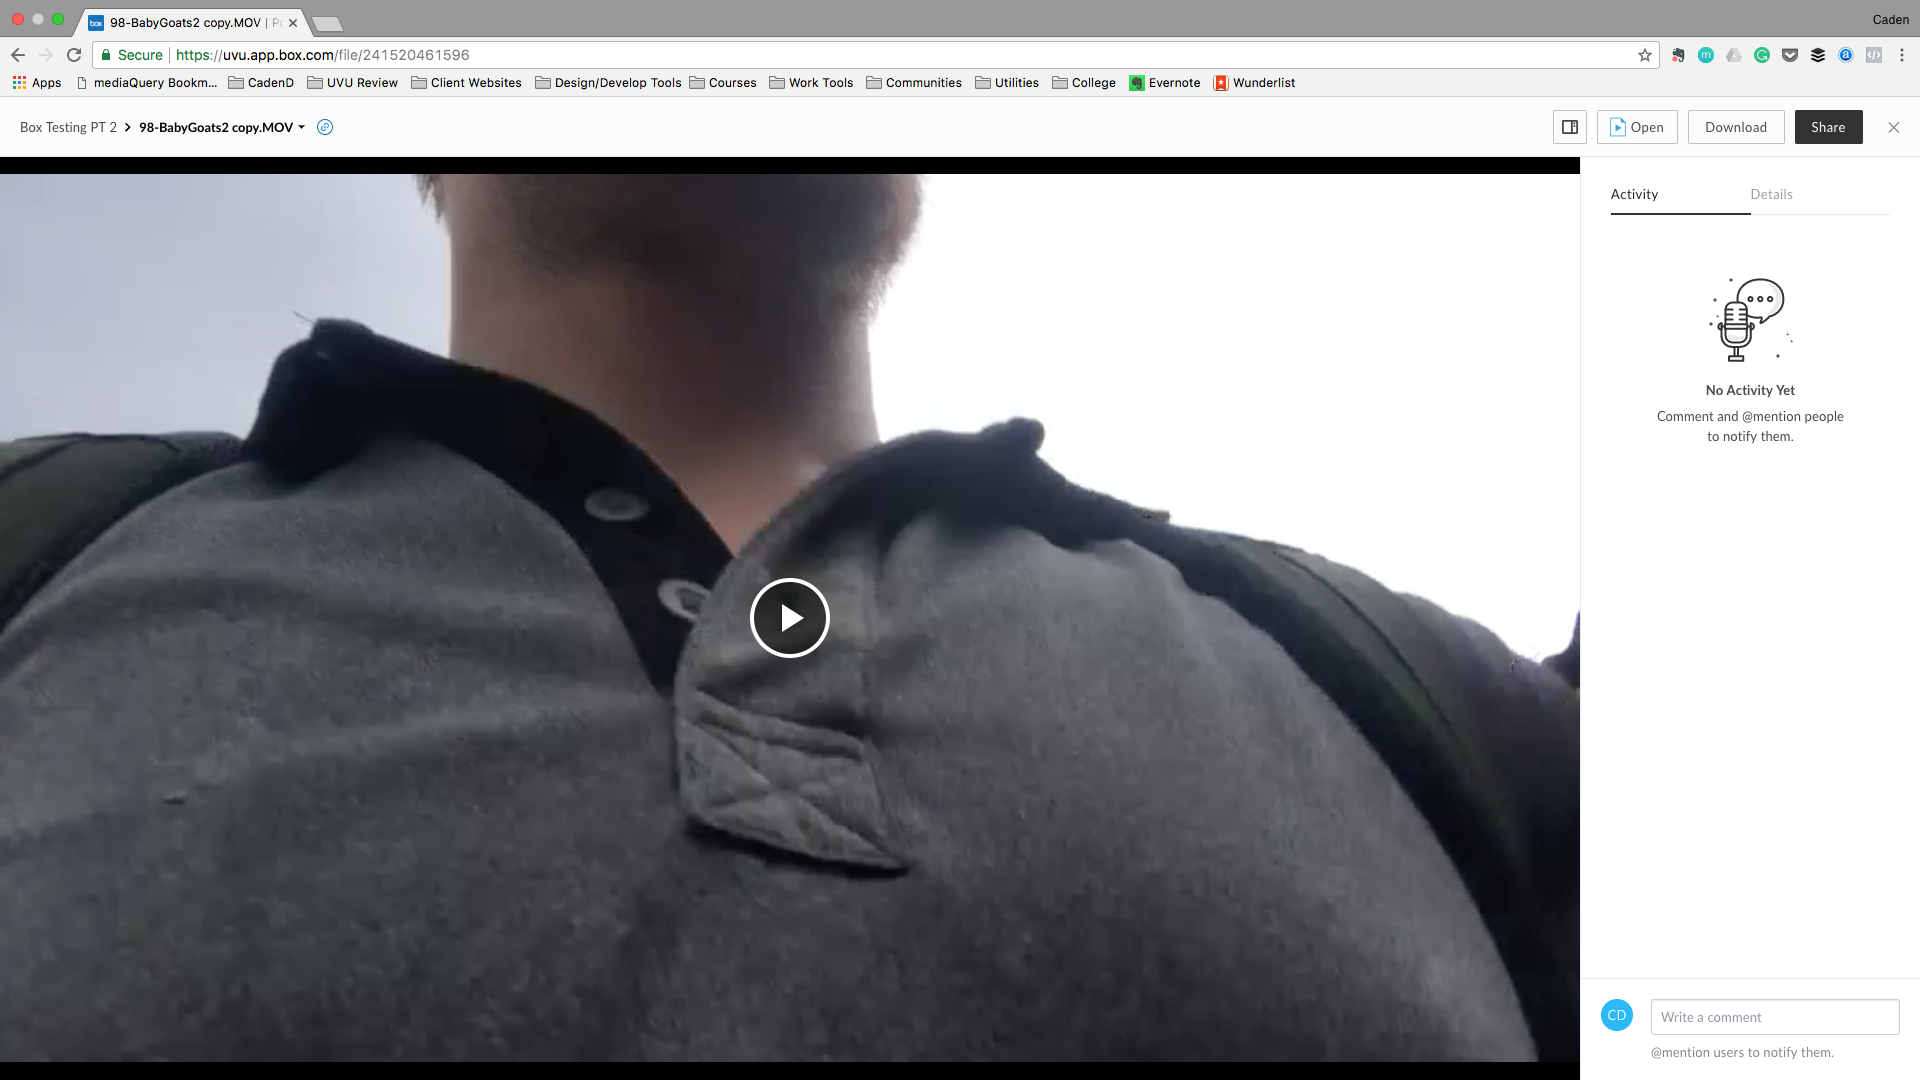
Lets say I wanted to assign somebody a task on a my BabyGoat.Mov file. I wanted to assign a member of my team to take that video and edit it as an opening title sequence.
To do that I will need to click on the Baby Goat File which will show this screen right here.
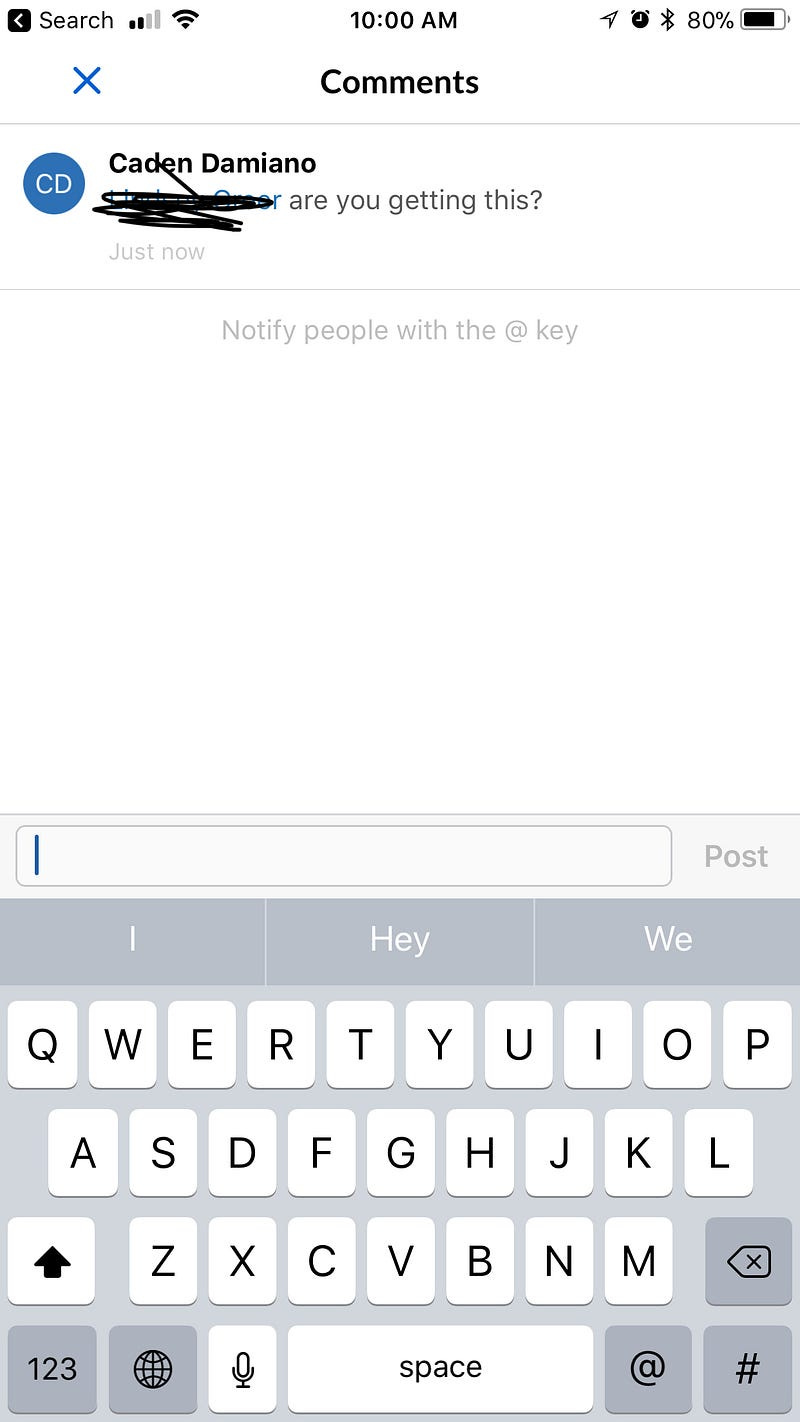
The magic happens where the comments are. I can comment on the progress of a video in the right pane. If you want to mention somebody just use the @ symbol to give a shoutout to their Box handle. Right here I am mentioning myself as an example.
If you look below the chat box, as soon as you mention someone, there is the option to “add a task” to that persons workflow.
So I can assign a task, like, “@ Caden Damiano can you add some motion graphics over this?” Then type in Caden Damiano and set the due date to this Friday.
The chat bar will show a confirmation and a message to me. And a cool reminder email will be sent to my inbox.
When I click, Complete Task this is where I am taken. From there I can download it, work on it, re-upload it, and check the box under my task to finish the task.
Also if your team member is a little behind, you can resend the task reminder to give them a little nudge to get their work done.
Bonus: Using the phone apps and managing storage
Alright, I’m sure after seeing all the cool features that come with a Box account make you feel like a power user even more right?
Well, lets feed that power trip shall we?
First part is simple, download the the Box app on your phone.
Once you have it, you will get a familiar workspace after logging in with your UVUid
You get a similar file structure here.
and it is super easy to get back to work, but as far as I can see, you can’t assign task in the app.
When it comes to the actual desktop app, I have some qualms.
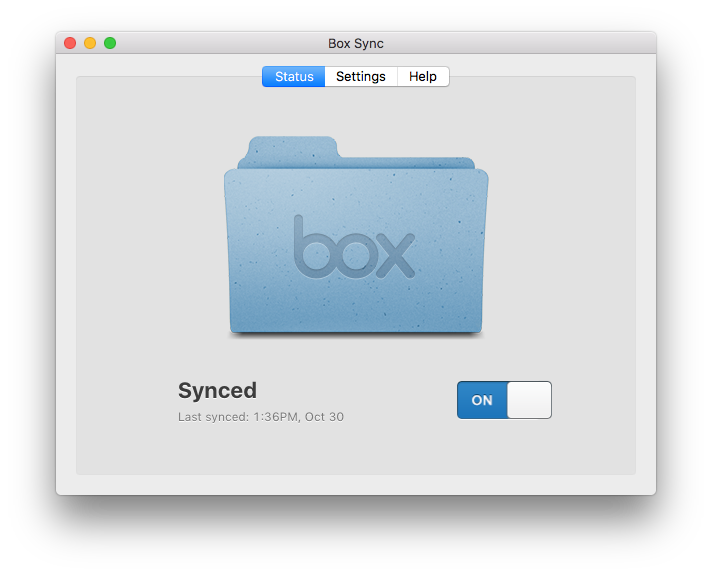
First off, it says that it is synced, but I must be blind because I do not see my files and the top bar settings say everything is ok…
But I don’t see anything. And the preferences don’t give me a clear way to sync files. and Pause? Pause what? There is nothing happening?
So instead I use Odrive.
Odrive is a service that consolidates all cloud storage accounts. and their free account is great for student needs. I set it up with my Box account and this is what I see on their desktop integration.
Everything is synced immediately. Frankly, this is a better service and it will serve you better. The cool thing about this service is you can choose what files you want synced on the device. If you right click on any file you can chose to unsync anything you do not have space for.
By doing this, you can keep track of all progressing files in group projects and at the same time unsync any files you are not currently working on.
Best part, you don’t have to deal with the hassle of meeting classmates in person, because honestly, class group project are not remotely close to the actual work environment where working in teams can actually be pretty fun.


